Updated April 2014
Below are steps in the process of reflow soldering my electric load.
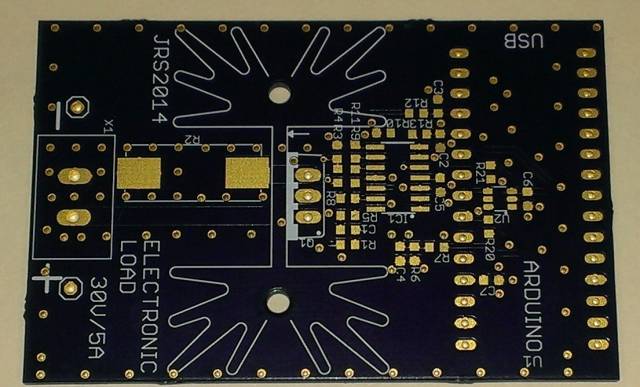
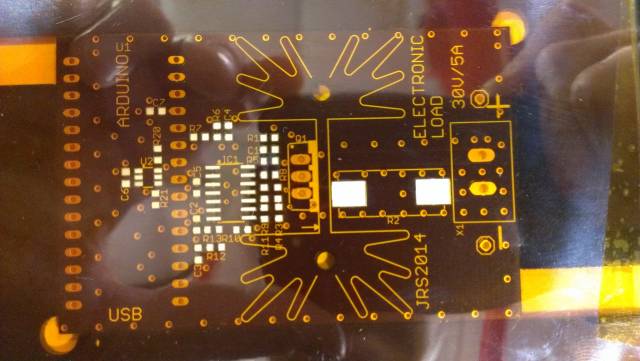
I started with a bare board.
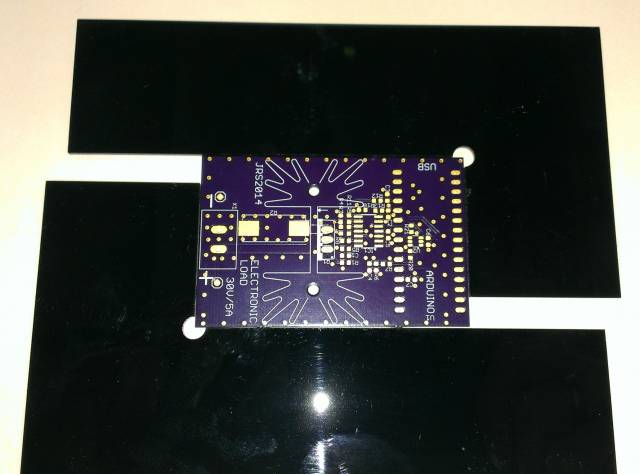
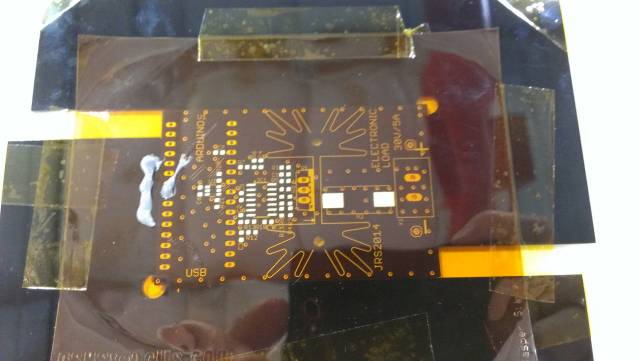
And I placed it on a paper on a flat surface between two board holders of exactly 1.6mm thickness. It's important to have a really flat surface before you put the solder stencil.
Then I taped the frames to the paper
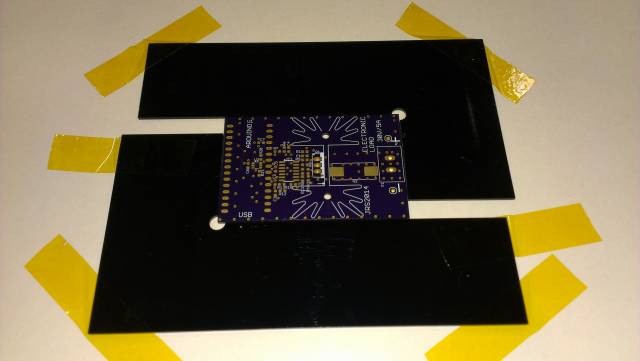
And the stencil too.
One more time I checked if the stecils was placed correctly. You need to make sure that the stencil is absolutely flat on the PCB otherwise the solderpaste will creep between the stencil and the PCB on places where you don't want it.
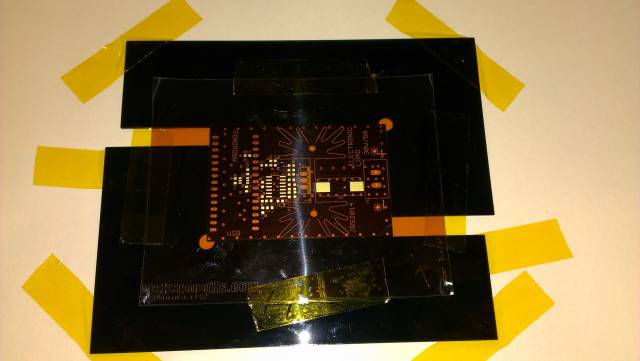
Then I added some solder paste next to the openings in the stencil
By the way, I bought the solder paste from Anchor Electronics in Santa Clara. It a very organized and clean electronics store. I love it.

I applied solder paste using a solder paste spreader supplied by OSHStencils. It is actually just a piece of plastic, like a credit card.
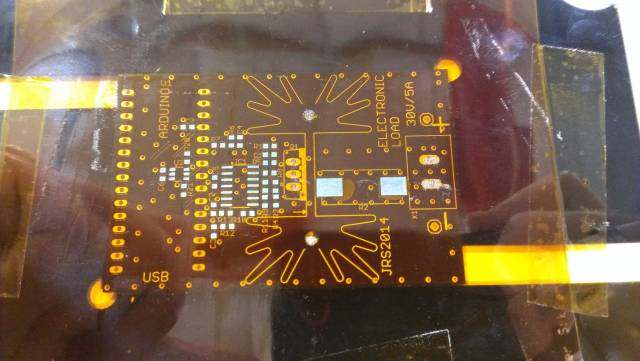
And checked carefully if all pads were totally covered. When I removed the stencils the paste looks messy, but people told me not to worry, so I didn't.
Then I placed the components using tweezers.
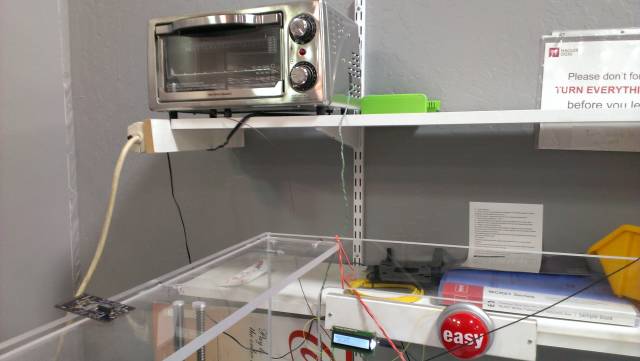
Then I put the boards in the reflow oven at the Hacker Dojo in Mountain View. The oven is actually a hacked toaster oven. Nick Sayer designed the electronics. Simply press the EASY button to start the reflow.
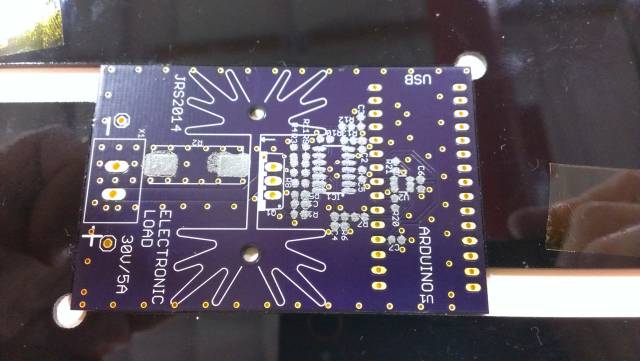
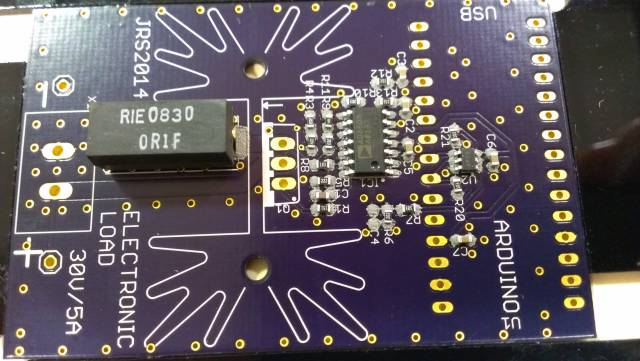
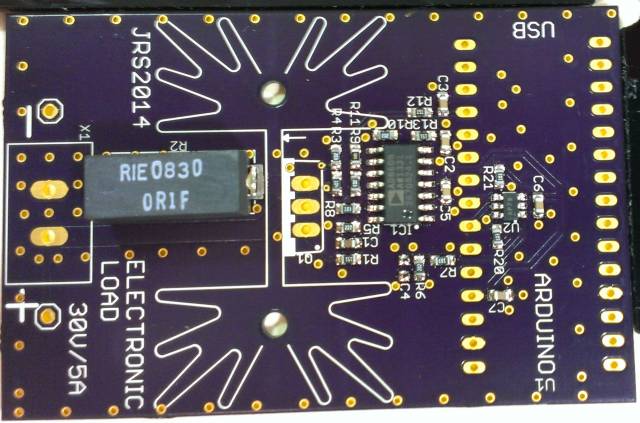
After 10 minutes I took the board out and everything looks soldered very well!
Even under the micoscope everything looks well. Below is a SO14 package. Here and there I found some loose solder balls and removed them.

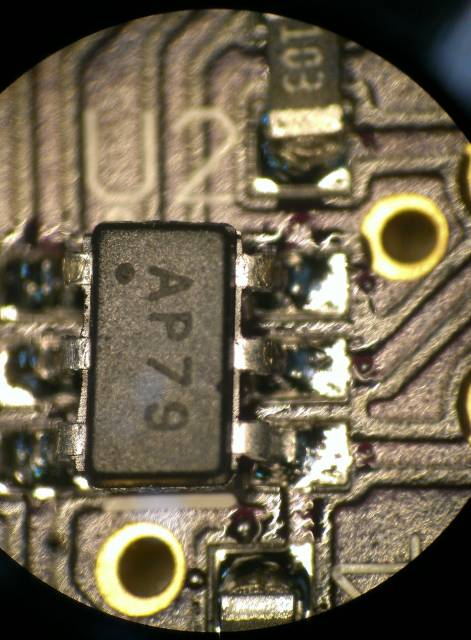
And below is a SOT-23 package.
I am very happy with the result. Next time I will try 8 pin BGA and 0.5 mm pitch packages.